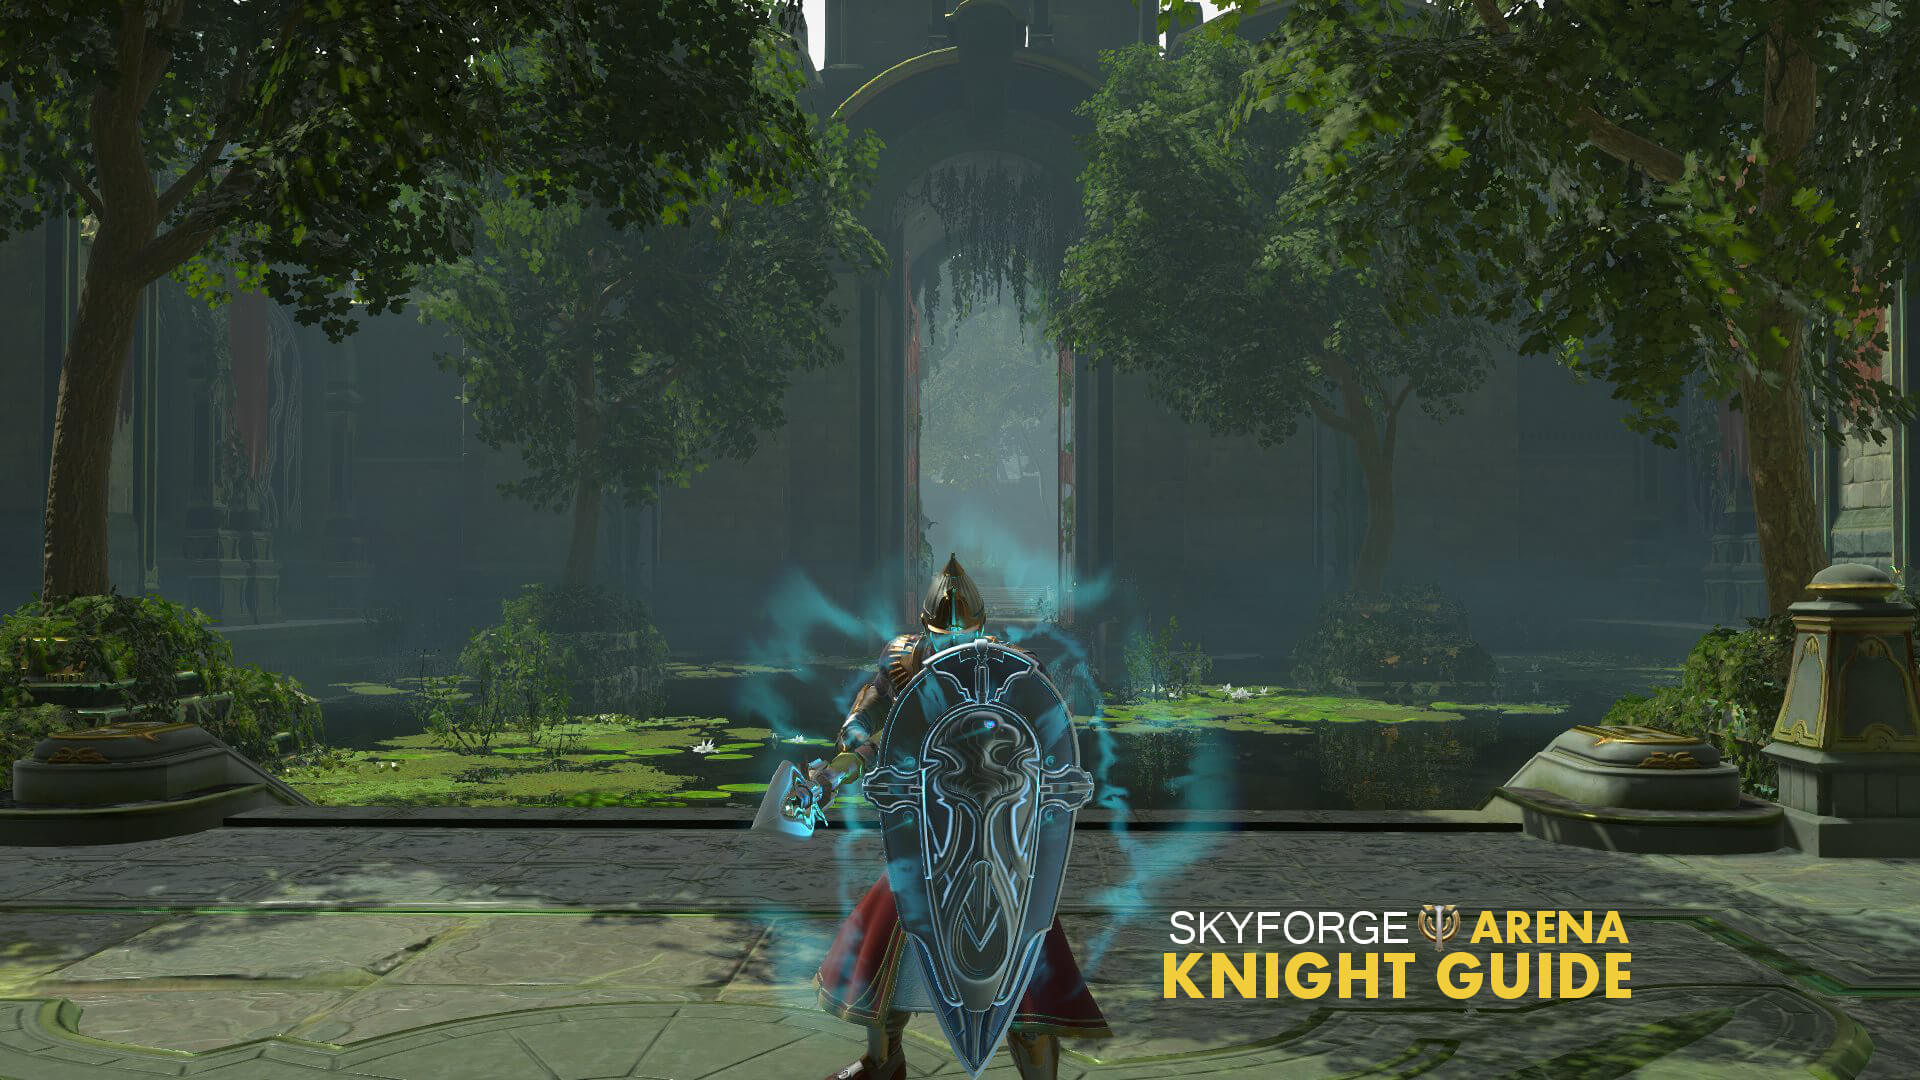
Skyforge Knight
Overview
The Knight is one of two tanking classes in Skyforge and is widely considered the better tank of the two. The Knights strength is that they are a mitigation tank that consistently mitigates damage while the Paladin must time their shield appropriately to absorb damage. The Knight not only can mitigate 30%-60% of damage received they can also go invulnerable for 3 seconds. The class also excels in grouping multiple mobs, AoE damage, can reflect damage back to attackers, can rez themselves back to full health, and can even tank a boss at range with their spear and falcon if there is too much damage around the boss. I’ve played both Knight and Paladin over 50 hours and I find the Knight is a more enjoyable tank and provides greater benefit to the group.
This article is focused on PvE and group play, there will be a PvP focused guide in the future. Also, keep in mind that in the end you’re going to have to figure out what works best for your play style and in certain situations and I’m merely going to tell you what I use and why, however you may disagree and that’s OK.
Read everything or jump to a specific section.
Abilities
Barrier II or Resolute Strike II. Until you get Barrier tanking as a knight isn’t feasible and Barrier II makes it that much stronger of an ability. “Barrier II – Defensive stance that reduces incoming damage by 25%, but Willpower is recovered at half the usual rate. Using abilities that consume Willpower make the Barrier last 4 seconds longer, and it absorbs twice as much damage, reflecting half of absorbed damage back at the enemy. The amount of reflected damage cannot exceed 12% of the Knight’s maximum health.
Resolute Rebuff or Stronghold. Absorbs all damage, taunts enemies, and inflicts damage. Yes please. “Resolute Rebuff – Absorbs all incoming damage as long as the Knight stands still while using it (up to 3 seconds). When it ends, it inflicts damage toa ll nearby enemies in the amount equal to the damage absorbed but no more than 25% of the Knight’s maximum health. Monsters are forced to attack the Knight for the duration of the attack and 4 seconds after it ends.
Resolute Defense or Tantrum. Remember not to spam your falcon or Earthquake just wait for this shield to fade or get destroyed before casting another Willpower consuming ability. “Resolute Defense – Generates 100 points of Willpower, and abilities that consume Willpower will create a shield around the Knight’s maximum health for 4 seconds.
Stray Attack II or Falcon Fury. I don’t see the need to have Falcon Fury in PvE and an extra small shield doesn’t hurt anyone. “Stray Attack II – Inflicts damage to enemies around the Knight. If at least 3 enemies were affected, creates a shield that absorbs damage equal to 2% of the Knight’s maximum health for 2 seconds. Chance of activation depends on the number of affected enemies. Activated Impulse Charge.”
Earthquake or Falconry or Stunning Blow. I don’t take Stunning Blow because if I’m going to spend Willpower I want to use either my Falcon Attack for more damage or Earthquake for crowd control. Also, Cutting Grass is a nice damaging ability for multiple mobs. “Earthquake – Inflicts damage to enemies in a large area around the Knight, knocking them down and pulling them toward the Knight. After landing, their movement speed is reduced by 75% for 3 seconds.” “Falconry – Has two change levels. **Falcon Attack: The falcon attacks the selected enemy several times, inflicting damage. **Cutting Grass: The falcon flies forward and inflicts damage to all enemies in its path”
Talents
Unshakable. I know there is a nice debate about whether a Knight should use this in PvE but from what I’ve seen and read this is a great talent to have especially for higher level content. “Unshakable – The Knight is immune to control effects when their health is higher than 70%.”
Rockwall. This one is a no brainer for tanking. “Barrier and Barrier II absorb 5% more damage. The Knight generates 400% more threat.”
Heavy Tread. “Earthquake immobilizes player characters and stuns monsters for 2 seconds. It can be used only once every 4 seconds.”
Counter-Grip. “The enhanced effect of Barrier II lasts 1 second longer, and Lunge will restore 2 points of Willpower while it is active.”
Pile Driver. “Stray Attack inflicts 36% more damage.”
Mother Earth. Knights excel at multiple targets, this just helps. “Havoc and Earthquake inflict 25% more damage if they hit three enemies. This damage is increased by additional 5% for every subsequent enemy (up to 25%).
Sky Hunter. “Falcon Attack and Cutting Grass consume 5 less points of Willpower and inflict 30% more damage to enemies with less than 50% health.”
For my last Talent I’ve been debating between Battlemaster and Rampage of Strength. I’m not a full spirit Knight tank as some people are, I believe that is personal preference and play style but I do see benefit in Rampage of Strength without being a full Spirit Knight. For now I do have Battlemaster equipped but I want to lay out these options for you.
Battlemaster. “For the duration of Resolute Defense and Tantrum, teammates in a 30 yard radius move 20% faster and take 20% less damage.”
Rampage of Strength. “Increases impulse damage by 20% and restores 12 poitns of Willpower when Impulse Charge is activated.”
Symbols
Divine Intervention. “Incoming damage is completely absorbed if it is more than 10% of the maximum health. The character becomes immune to all damage and negative effects for 4 seconds. The effect is activated no more than once every 70 seconds.” This is hands down one of the best symbols in the game. This isn’t just perfect for tanking and a must have but everyone should unlock this, think about it.
Impulse Barrier. “When Impulse Charge is activated, the character gains a shield that absorbs damage for 3 seconds. Each level of this symbol increases the amount of damage absorbed by 3% of the character’s maximum health.” Small shield but all shields are good for tanks.
Tactical Defense. “Melee defense is increased by 5% for each level of this symbol. Ranged defense is increased by 5% for each level of this symbol.” More defense, oh yeah!
Clever Maneuver. “Using Dash creates a protective barrier that absorbs damage equal to 5% of the character’s maximum health for 3 seconds.” Another shield based on health percentages, too easy.
Balance. “The character takes 6% less damage for each level of this symbol when they are fighting against three or more enemies.”
Life Energy. “Using Healing Orbs increases running speed by 30% and reduces incoming damage by 40%. Duration 3 seconds for each level of this symbol.”
Even though you are a tank I also suggest damage symbols if you have the room like Lacerated Wounds which I always have on, Maximum Recoil, Ultimate Strength, Mobilization, and Jinx.
Now Lets Play Knight
With most classes in Skyforge when you first unlock them they seem under powered and nothing could be more true than when you start off a new tank class. The Knight has a hard time tanking 5-man dungeons until they unlock Barrier which is your mitigation ability. To really be a great tank you not only need most of your talents but you will also need symbols to help you. Even if you don’t like Paladin you will need their symbol Divine Intervention to consider yourself a real tank and you can find plenty of other symbols that help you mitigate damage and live longer.
First things first, you should always have your Barrier ability active because that is what mitigates your damage. If you want to toggle it on and off during a fight to regain Willpower that’s up to you but normally when tanking you should keep it active. Now when engaging enemies as a Knight I never use Stunning Blow to leap to targets even if I have the ability because of it’s Willpower consumption. When engaging multiple mobs I walk up to them and use Earthquake to bunch them up for the group. With full Willpower you can cast Earthquake three times in a row which can be useful in certain situations. Sometimes you will Earthquake once to get the majority of mobs together but there may be one ranged mob still attacking you, just walk between the grouped mobs and the ranged mob and use another Earthquake to get all enemies together. Another option is Earthquake the majority of the mobs and then use your Spear Throw to taunt the outlier.
Once you have the mobs under control you have some options. If you have the talent Heavy Tread mobs will be stunned for 2 seconds after using Earthquake or they’ll get knocked down/stunned right away since everyone has the Impact symbol. Since the mobs are stunned you don’t take any damage on the initial pull and it allows you some time to DPS so you should save your Resolute Rebuff for later. For groups of mobs I use the Stray Attack ability and when I have Willpower I’ll also use Earthquake or Cutting Grass for AoE damage depending on how the mobs are positioned. Using Earthquake or Cutting Grass has other benefits besides DPS and grouping mobs like allowing you to mitigate more damage since it activates Barrier II which has a passive that when you use an ability that consumes willpower it “makes the Barrier last 4 seconds longer, and it absorbs twice as much damage, reflecting half of absorbed damage back at the enemy.” Some players use Resolute Rebuff right off the bat because of it’s damage but I don’t do this because the enemies are usually stunned in the beginning of a fight anyways. Once you play the class more you’ll know when to use Resolute Rebuff but typically I save it and only use it if I need to absorb some damage, but this isn’t my golden rule and I still use it a good bit for AoE damage. So typically for groups of mobs I use Stray Attack, Earthquake, and Cutting Grass and then save Resolute Rebuff for absorbing damage or situational AoE.
As mentioned there are benefits to saving Resolute Rebuff for when things get out of hand. There are times when the fight goes south and you need those precious 3 seconds of immunity to allow your teammates to down an enemy and give you that sparkling gold health orb. It also allows you some time to regain willpower naturally or have Resolute Defense come off cooldown then you can use abilities that consume Willpower and get the benefits of Barrier II.
Resolute Defense has a short cooldown, use it. When clearing trash leading up to a boss I use Resolute Defense pretty frequently to either spam Earthquake to burn down groups of mobs or for casting a bunch of Falcon Attacks on a single target. Knights can deal a lot of damage, there are plenty of times where I’ll check the stats of a fight and I’m first (if lots of AoE) or I’m in the middle of the group. Boss fights are different and you should use Resolute Defense as needed during the fight, I can’t go through every fight but I’m sure you’ll know when to use it.
When it comes to boss fights you’ll lead with a Spear Throw for the initial taunt and a Falcon Attack for good measure. After this it all depends on the fight. If I know there are adds coming I’ll always save enough Willpower for an Earthquake but if I can I use Falcon Attack’s for added damage and to get Barrier II activated. I’ll use Spear Throw every now and then to ensure the boss keeps me targeted but if you have really strong DPS and you can’t hold aggro you may need to use it more frequently. My experience is that Stray Attack II does great DPS even for single targets so I use Falcon Attack and Stray Attack as my main single target DPS and I tend not to use too many Spear Throws within melee range. If the boss jumps around during the fight no problem, just throw your spear and call your falcon!. Also, always don’t forget about Resolute Rebuff and Resolute Defense, use them as needed.
I don’t usually mention a classes “ultimate” ability but the Knight’s Whiplash deserves to be mentioned. One amazing thing about the Knight is that you can instantly rez with 100% health by pressing “space” once your health reaches zero which activates your Whiplash ability! So if something goes terribly wrong during a fight or your mess up Whiplash gives you a second chance, truly making the Knight a superior tank.
Equipment
Note the X’s indicate level quality – Green/Blue/Purple/Orange
Primary Weapon
- [Recommend] Falcon Attack and Grass Cutting inflicts X/26/X/X% more damage
- Crushing Blow inflicts 12/X/X/42% more damage when impulse Charge is activated.
- Tantrum lasts 4/8/X/X seconds longer
Additional Weapon
- [Recommend] Havoc and Earthquake consume 5/X/7/X less points of Willpower and deal 12/X/18/X% more damage. Incoming Traumatic Damage is reduced by 50%.
- [Recommend] When Barrier or Barrier II is active, all incoming damage is reduced by 8/16/X/X% if the character health drops to less than one third. Incoming Traumatic Damage is reduced by 50%.
- Stunning Blow consumes X/20/X/X less points of Willpower and deals X/30/X/X% more damage. Incoming Traumatic Damage is reduced by 50%.
Amulets
- [Recommend] Havoc and Earthquake inflict X more damage
- [Recommend] Stray Attack II inflicts X more damage
- [Recommend] Falcon Attack inflicts X more damage
- Resolute Strike inflicts X more damage when it consumes Willpower.
For soloing people choose Falcon Attack but for group I feel all of the top 3 are viable depending on your play style. Most people might not pick Stray Attack but with the increased damage talent it isn’t bad.
Rings
- Health – The higher the content you’re doing, the more health you want.
Temples
I’m not saying all your temples should be Endurance or anything like that, I’m just making you aware of some good tanking temples and you should probably have at least one of each. In most fights I honestly have damage focused temples like Critical Chance, Temper, Accuracy. The higher level content you reach the more you’ll need to focus on the tanky temples rather than DPS temples.
Endurance – “Reduces incoming damage by the following % if it exceeds 10% of your maximum health. Only the amount of damage that exceeds it is reduced.”
Adaptation – “Decreases incoming damage. The effect lasts 3 seconds and can stack up to 5 times. The stat displays the damage reduction when you gain maximum stacks.”